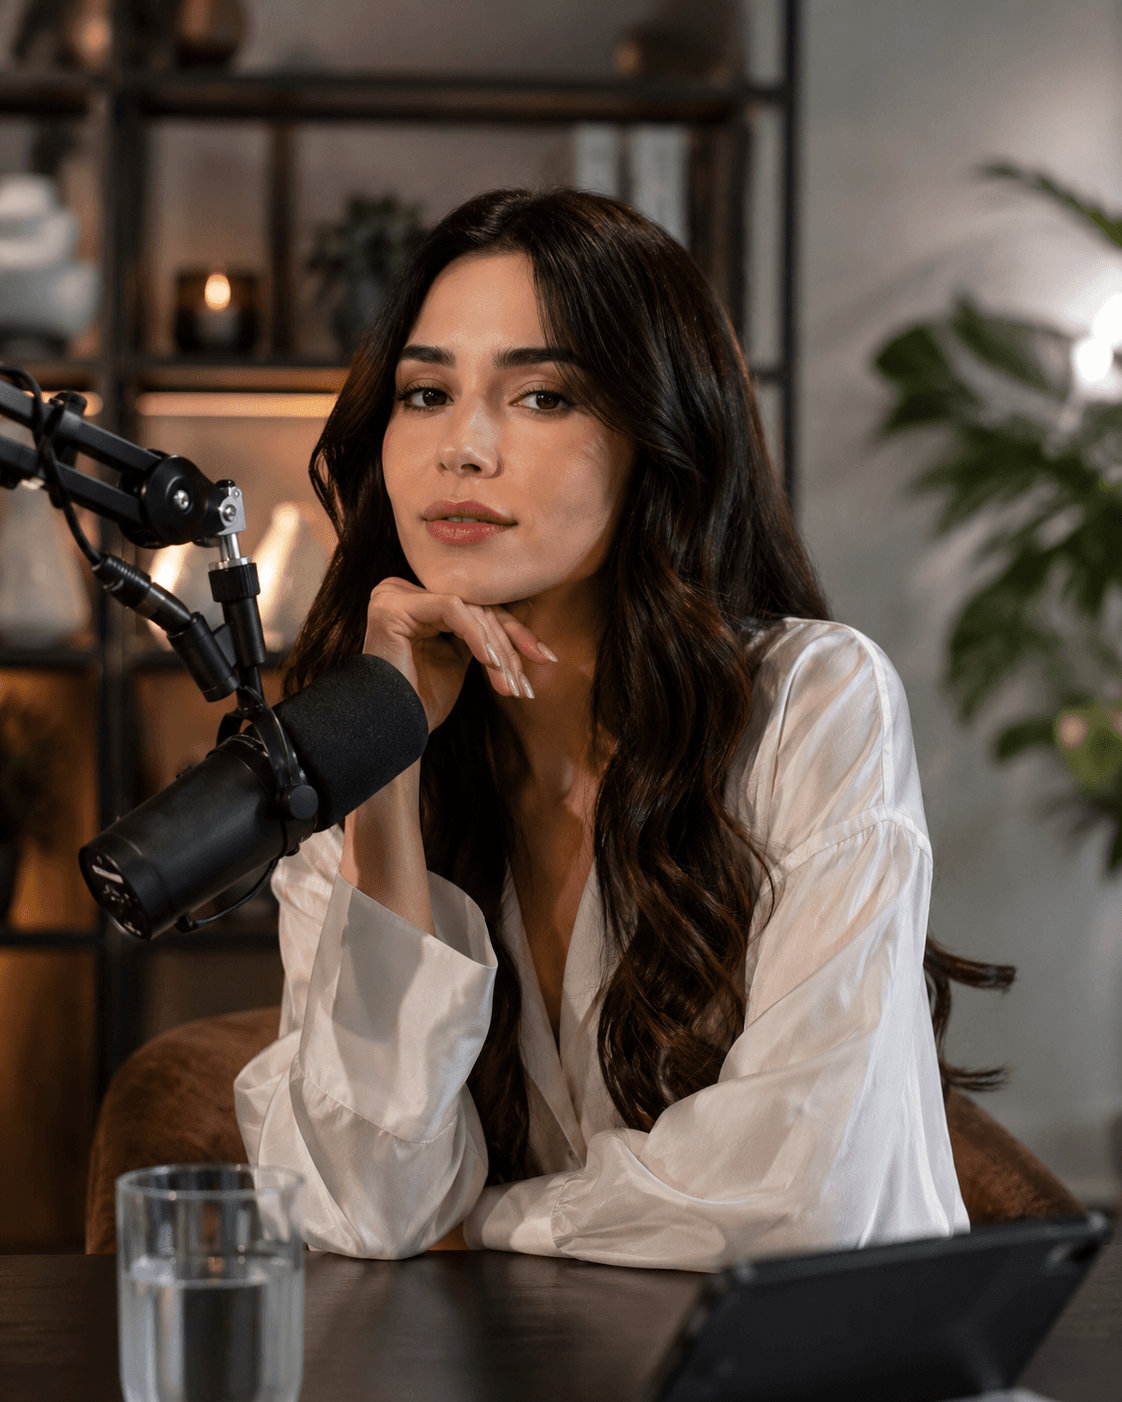
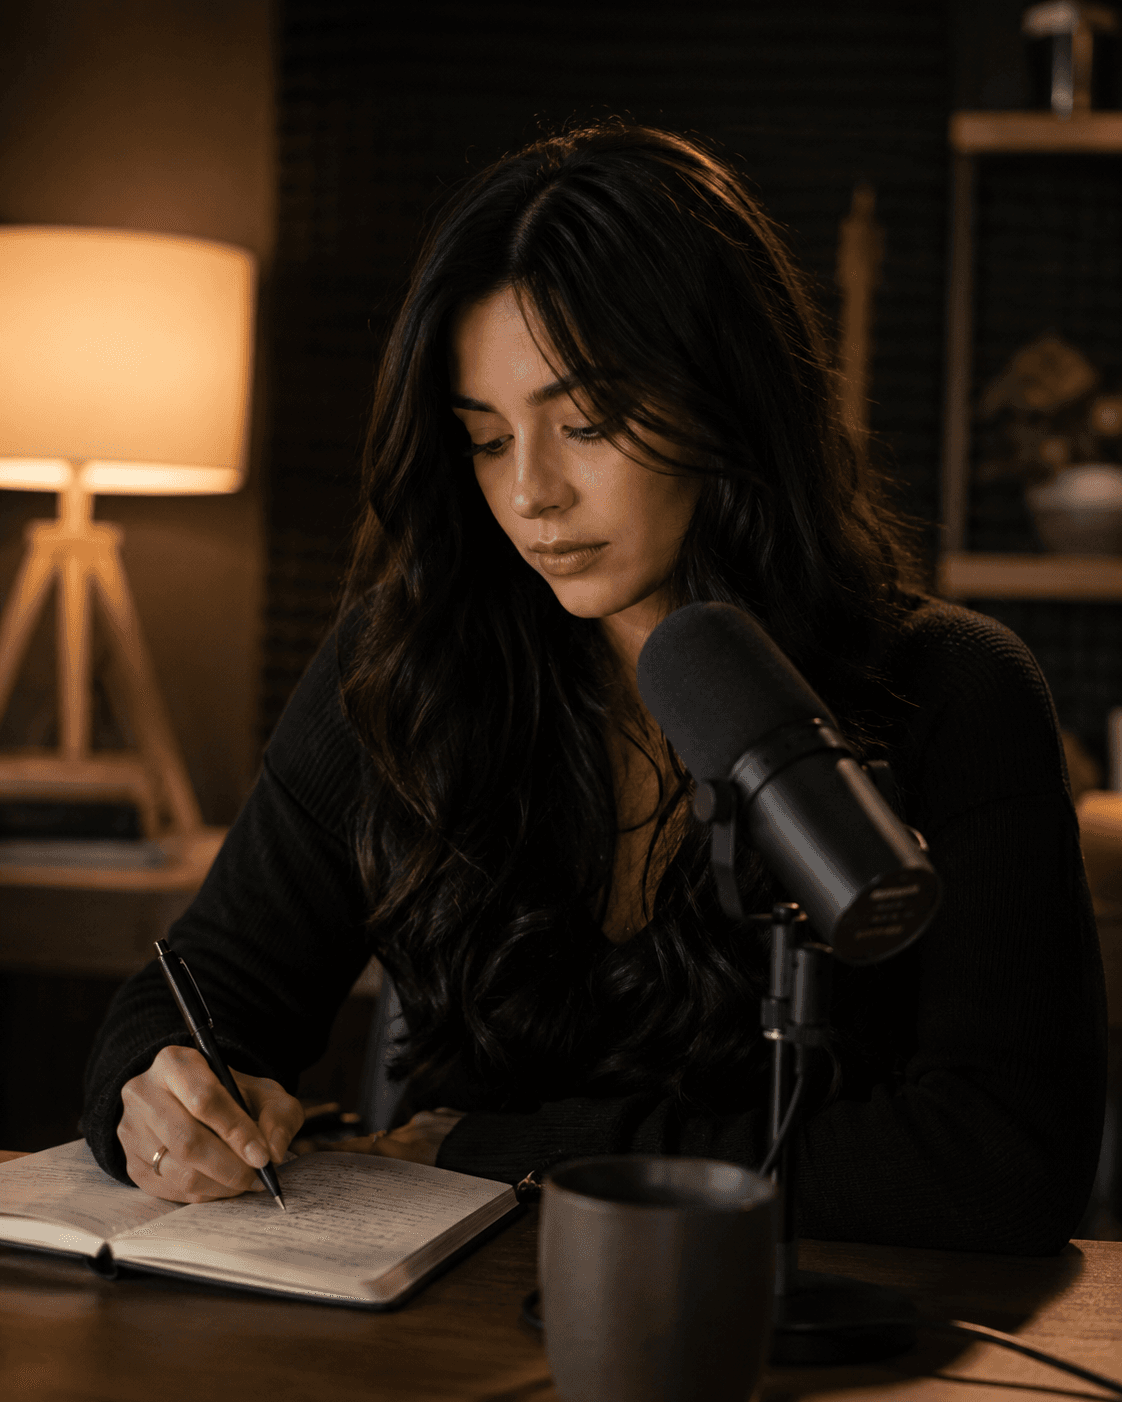
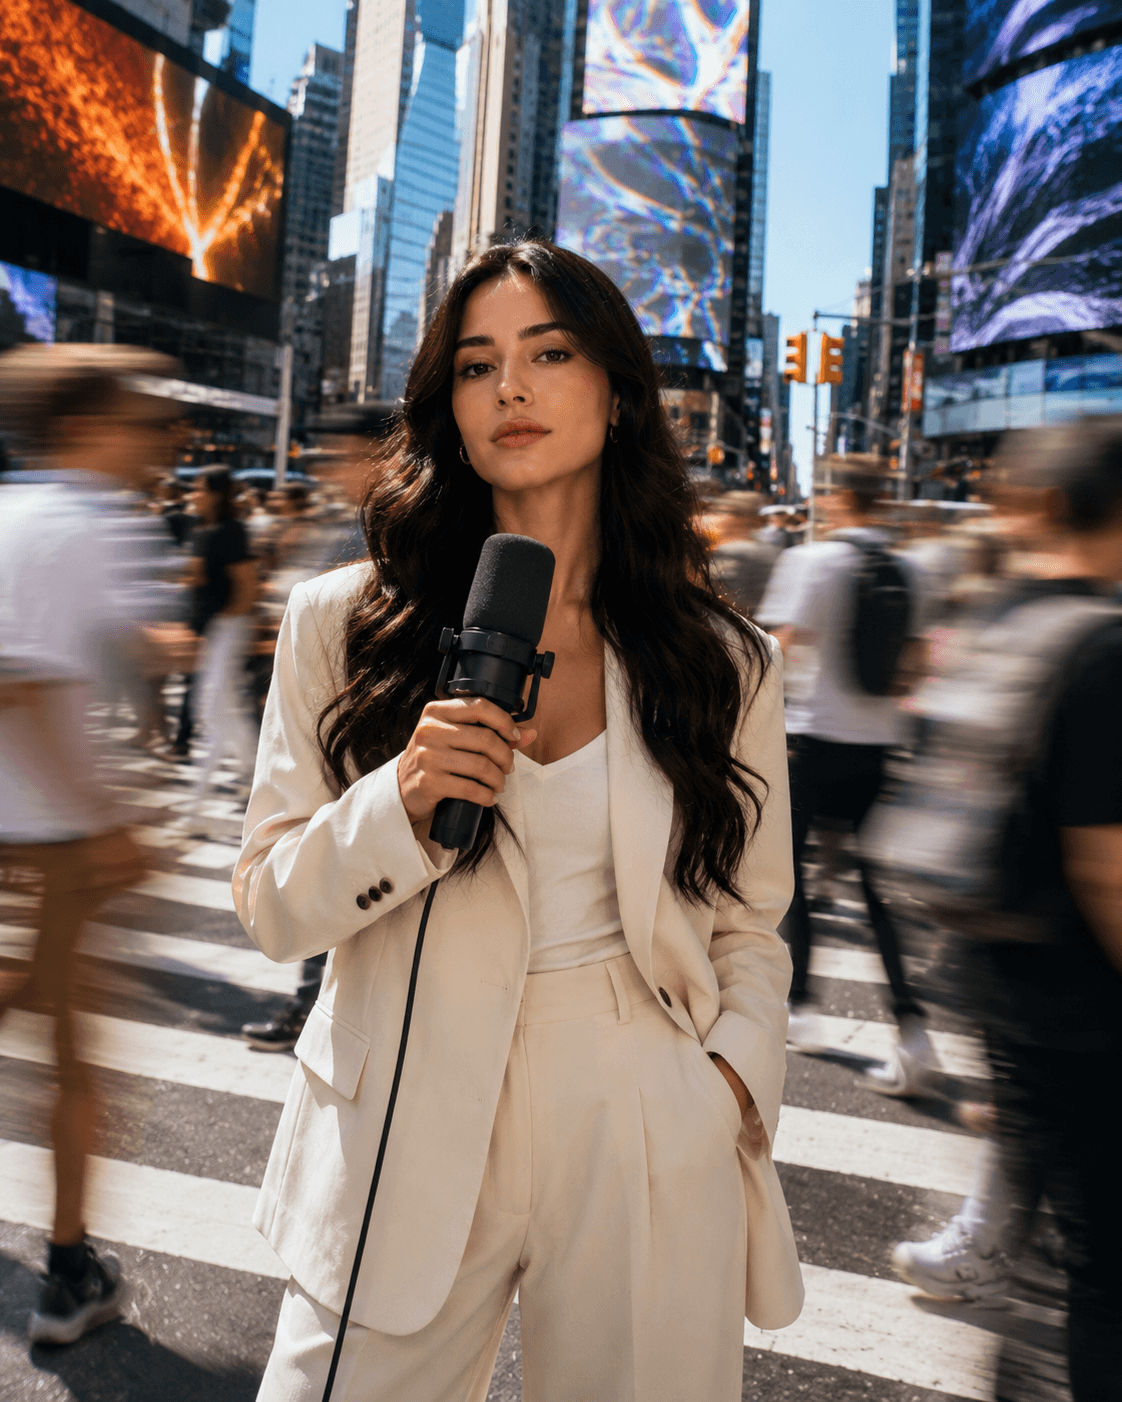
Build a faceless podcast host that looks real, sounds like you, and turns into viral talking videos — without ever filming yourself.
One consistent AI avatar, locked as your host, given your cloned voice and turned into talking and walking videos from a single image. Every stage feeds the next — avatar, character sheet, scenes and outfits, voice clone, script, video, post — so once your identity is built, content becomes a repeatable loop instead of a full shoot. Includes a video walkthrough plus the complete written playbook with copy-paste prompts.
The full avatar-to-video walkthrough. Watch it once, then follow the written playbook below.
The Written Playbook
4 lessons · 18 min read
Build a faceless podcast host that looks completely real — without ever filming yourself. This is the foundation everything else is built on.
Overview
Growing a page used to mean putting yourself on camera. This system replaces the camera entirely: build one consistent AI avatar, give it your cloned voice, and turn it into talking videos. Each stage feeds the next, so once your identity is built, content becomes a repeatable workflow.
This first guide covers the most important stage — creating your avatar. Get this right and every video that follows feels like the same real person. Get it wrong and nothing downstream holds together.
What you'll build in this guide: a photorealistic avatar that stays consistent across every post — the face your whole page is built around.
Your avatar is the foundation. Get a face you love, keep it consistent, and every video feels like the same person. This is the asset your entire page is built on, so it's worth doing carefully rather than quickly.
Getting set up
Sign up at Higgsfield.ai. The Starter plan ($15/mo) is enough to begin — it includes 100 Nano Banana Pro credits plus 300 free Soul V2 generations. Nano Banana Pro is the model you'll use for your main avatar; Soul V2 powers the faster Chrome-extension workflow covered later.
Before you generate anything, set two things in your settings:
Setting
Choose
Why
Format
9:16 for Reels/TikTok, 16:9 for YouTube
Matches where you'll actually post, so nothing gets cropped
Quality
2K
Sharp enough for any platform without burning credits
Step 1 — Upload your base photos
Upload 1–3 photos of yourself to give the model a reference for what you look like. The quality of these inputs directly shapes the quality of your avatar, so be picky:
✅ A good base photo
❌ Avoid
Bright, even lighting
Shadows across the face, dim rooms
Close-up, face clearly visible
Full-body shots where the face is tiny
Front-facing, looking at camera
Side profiles or downward angles
Sharp and in focus
Any blur or motion
Step 2 — Find a Pinterest reference
Next, you need an inspiration image that captures the style you're going for — the vibe, lighting, and framing, not the person. Head to Pinterest and search for the aesthetic you want (for example, "luxury studio podcast" or "soft glam portrait").
What to look for in a reference:
Someone facing the camera directly — this is essential
A clean, uncluttered background
The style and mood you want your avatar to have
Avoid side profiles — they confuse the generation and break consistency later
Step 3 — Let ChatGPT write the prompt
Rather than struggling to describe the image yourself, let ChatGPT do it. Paste your Pinterest reference into ChatGPT and ask it to translate the image into a generation prompt:
ChatGPT — prompt writer
Write a prompt for Nano Banana Pro. Describe this image for AI generation. Keep it realistic. The woman is looking at the camera.
This gives you a detailed, accurate description of the styling, lighting, and composition — far better than guessing at the right words yourself.
Step 4 — Generate in Higgsfield
Copy the description ChatGPT gave you into Higgsfield. Then — and this is the detail most people miss — add this exact line at the very end of your prompt:
Higgsfield — add at the end
slight natural smile, showing a bit of teeth
That one line is what keeps the face looking natural and alive instead of stiff and mannequin-like. A closed, neutral expression is one of the biggest tells of AI generation; a slight genuine smile reads as human.
Step 5 — Refine, don't restart
Your first generation will rarely be perfect, and that's fine. The mistake to avoid is starting over every time something's slightly off — that wastes credits and you lose the parts that were working.
Instead, refine surgically:
Hover over the generated image.
Click Reference.
Tell it the one thing to change — for example, "change her outfit, keep everything else the same" or "make the lighting warmer, keep the face identical."
Everything you don't mention stays locked. This lets you dial in the outfit, hair, or lighting while keeping the face you've already landed on.
Once you're happy, download it. This is your base image — the single source of truth your whole page is built from.
✦ ✦ ✦
Faster Alternatives
The Nano Banana Pro flow above is the core method, but depending on how locked-in you want your face and how fast you want to move, two alternatives are worth knowing.
AI Twin (Character)
Upload 20–50 varied photos of yourself to train a dedicated model that locks your real face across any outfit, scene, or angle. Because it learns from many images rather than one to three, it holds your likeness far more tightly.
Best for: maximum consistency and the closest match to your real face
Trade-off: more upfront photos and a bit more setup time
Use it when: you're committed to the page long-term and want your avatar unmistakably you
Chrome Extension (Soul V2)
For speed, create a character (20+ photos), install the Higgsfield Chrome extension, then right-click any image online → Recreate with Higgsfield. It regenerates that image as your character, almost instantly.
Best for: fast iteration and reusing poses/scenes you find around the web
Bonus: comes with 300 free Soul V2 generations on the Starter plan
Use it when: you want to move quickly and test lots of looks
Which path should you choose?
Your priority
Best method
Simplest way to start today
Core flow (Nano Banana Pro)
Tightest possible face consistency
AI Twin (Character)
Speed and lots of look-testing
Chrome Extension (Soul V2)
✦ ✦ ✦
Avatar Prompt Library
If you'd rather start from a proven prompt than build one from a Pinterest reference, use these. Each one is tuned to a different aesthetic — pick the vibe that fits your niche, then adjust the details to make it yours.
Soft Feminine
Ultra-realistic beautiful woman, soft feminine features, long dark hair, natural skin texture with visible pores, soft glam makeup, nude pink lips, warm soft lighting, editorial photography, luxury aesthetic, shot on iPhone with flash
Notice that every prompt above follows the same skeleton. Once you see the pattern, you can write your own from scratch:
Realism anchor — always open with "ultra-realistic"
Subject — who they are (woman, model, etc.)
Features — face, hair, skin tone
Skin texture — "natural skin texture with visible pores" (non-negotiable)
Makeup & styling — the look
Outfit — what they're wearing
Lighting — the mood
Photography style — "editorial," "lifestyle," etc.
The two rules that make or break realism
✅ Always include "ultra-realistic" and "natural skin texture." These two phrases do more for believability than anything else in the prompt.
❌ Never use "perfect skin." It triggers the smooth, plastic, airbrushed look that instantly reads as AI. Real skin has pores, texture, and tiny imperfections — and that's exactly what sells the illusion.
✦ ✦ ✦
Troubleshooting Common Problems
Most avatar issues come down to a handful of fixable causes. Before you start over, check here:
Problem
Likely cause
Fix
Face looks fake or plastic
"Perfect skin" in prompt, or 4K over-smoothing
Swap in "natural skin texture with visible pores"; drop to 2K
Expression looks stiff or dead
Missing the smile line
Add "slight natural smile, showing a bit of teeth" at the end
Face changes between generations
Re-prompting from scratch each time
Use Reference and change only one thing per edit
Features come out wrong
Side-profile reference or blurry base photos
Use front-facing references and sharp, well-lit base photos
Looks like a stock model, not real
Too much "high-fashion / flawless" language
Lean toward the Natural prompt; add "human-like imperfections"
✦ ✦ ✦
Pro Tips for This Stage
✅ Do
❌ Don't
Always include "ultra-realistic" + "natural skin texture"
Use "perfect skin" — it reads as fake
Use 2K quality unless you truly need 4K
Default to 4K and double your credit cost
Refine an existing image by changing one thing
Restart from scratch when something's slightly off
Create your own original avatar
Use other creators' images — legal risk
Pick a face you genuinely love before locking it
Settle on a "good enough" base you'll regret later
Key Takeaway
Your avatar is the anchor of the entire system. Spend the time here to land a face that's realistic, consistent, and truly yours — because every video, voice, and post from here on is built on top of it.
Once your base image is downloaded and you love it, you're ready for the next stage: locking that face into a master identity you can reuse forever.